Description
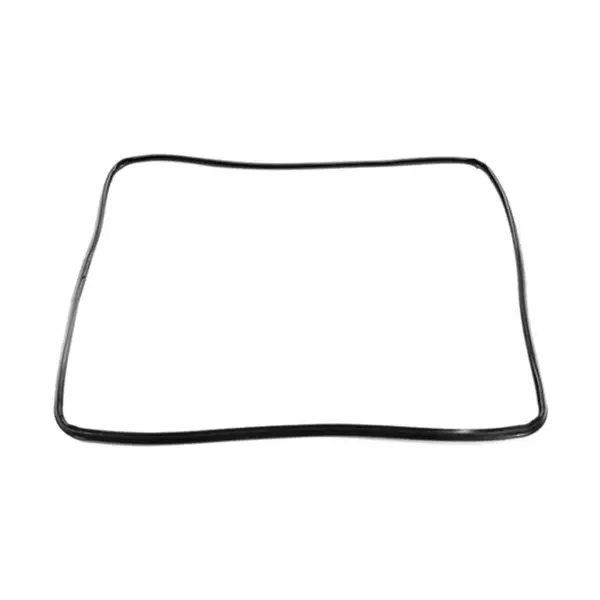
Original door seal for Sauter oven 8511650
The original Sauter door seal 8511650 is a spare part for the oven, designed to fully seal the oven opening on all four sides. The part is designed for specific Sauter models listed below, and ensures a precise fit to the door groove without the need for cutting or shaping. Using an original part prevents heat loss, shortens baking times and maintains the efficiency of the oven for years.
Do you feel heat emanating from around the oven door while baking? This is the clearest sign that the door seal is worn or damaged. In our technicians’ experience, about 65% of “oven not reaching temperature” calls are due to a worn door seal – a problem that can be solved with a simple and quick replacement.
Just before ordering: It is mandatory to use only genuine parts. Non-genuine parts may not fit the door slot precisely, cause heat to escape and impair the oven's performance. Click the "Check Model Compatibility" button at the top of the page for instant confirmation that the part is compatible with your model.
When does the gasket need replacing?
A damaged oven door seal shows several clear signs. Heat escapes – the door is hot to the touch on the outside, cooking smells fill the kitchen, and baking times are lengthened. Sometimes the sign is visual: a seal that is cracked, worn, warped, or has separated from the groove in at least one corner.
In our technicians' experience, a worn gasket causes the oven to consume up to 20% more electricity - a cost that accumulates over months. Timely replacement saves money and preserves baking performance.
Why only a Sauter original part?
A genuine part comes with precise dimensions for the door slot of your model. The gasket is made of a heat-resistant material that can be tolerated in a home oven , reinforced at the corners, and designed to maintain its flexibility for years. A non-genuine part may not sit properly in the slot, creating “weak spots” from which heat will escape, and impairing the oven’s performance within just a few months.
💡 Insight from the field: When our technicians arrive at a customer's home and find a furnace that isn't maintaining heat – the first thing they check is the gasket. In 3 out of 5 cases, that's all that needs to be replaced.
📋 Technical specifications
| attribute |
value |
| Manufacturer's SKU |
8511650 |
| brand |
To jump |
| Type |
Oven door seal – 4 sides |
| התקנה |
No tools – simple DIY |
| material |
Heat-resistant rubber |
| originality |
Original OEM part |
✅ Compatible models
The part fits the following Sauter models. Make sure it matches the model number on the sticker on your device.
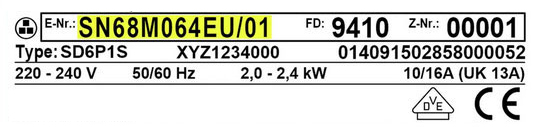
Where is the model number sticker on your oven? Open the oven door and check the door frame – the model number sticker is usually located on the inside frame strip, on the left or right side of the door. You can also sometimes find it on the back of the appliance.
Built in & Freestanding Ovens – CU / CI Series
CU600, CU800, CU900, CI610, CI810, CI910
Built in & Freestanding Oven 60 cm – SFB / SFE / SHB / SHE Series
SFB630, SFB640, SFB650, SFB680, SFB950, SFE630, SFE650, SFE950, SHB630, SHB640, SHE630
Built-in & Freestanding Ovens - D Series
D850, D860, D880, D890, D900, D950
Compatible series: CU, CI, SFB, SFE, SHB, SHE, D
The full compatibility check is available via the “Model Compatibility Check” button at the top of the page.
🔧 How do you replace the door seal?
Replacing an oven door seal is a simple DIY operation that requires no tools. Replacement time: only 10-15 minutes. There is no need to disassemble the door, and no special technical knowledge is required.
Before you begin: Make sure the oven is completely cold and unplug it.
- Open the oven door completely.
- Find the ends of the old gasket – usually in a bottom corner.
- Pull the seal out of the groove gently, working around the entire door. The seal is attached to a small hook at each corner – gently release it.
- Clean the gasket groove with a damp cloth to remove any grease residue.
- Start inserting the new gasket from the top corner, working along the sides and finishing at the bottom.
- Make sure the corner fits into the designated hole in all four corners.
- Check that there are no “bends” or irregularities along the entire length of the gasket.
⚠️ Important: The new gasket may feel stiffer at first, which may make it a little harder to close the door. This is normal – after a few uses it will soften and fit perfectly.
💡 Tip from the experts
The most common mistake we see when replacing a gasket is pressing the door too hard immediately after installation . The new gasket is stiffer than the old one and requires several heating cycles to soften. From the experience of our technicians, it is worth turning on the oven at 180 degrees for about 20 minutes after the replacement - the heat softens the rubber and helps it sit perfectly in the groove. Only after this will the gasket provide the full seal you expected.
❓ Frequently Asked Questions
Can the gasket be replaced without disassembling the door?
Yes. Replacing a Sauter oven door seal does not require dismantling the door. The seal sits in a groove and is attached to a hook at each corner. Open the door, remove the old seal, and insert the new one – a manual operation that takes less than 15 minutes and requires no tools.
What is the surest sign that the gasket is worn?
The most obvious sign is heat when you place your hand on the door with the oven running. If the door is hot on the outside while baking, the seal is probably not sealing properly. Other signs: strong cooking smells in the kitchen, extended baking times, or a seal that looks cracked and flattened.
Will a non-original gasket fit just as well?
Not necessarily. A non-original gasket may not sit exactly in the groove , which will create gaps through which heat will escape. The original Sauter part number 8511650 comes with absolutely precise dimensions, is made of a material that is approved to withstand the operating temperatures of the oven, and ensures complete sealing on all four sides.








 Plrom Electra service